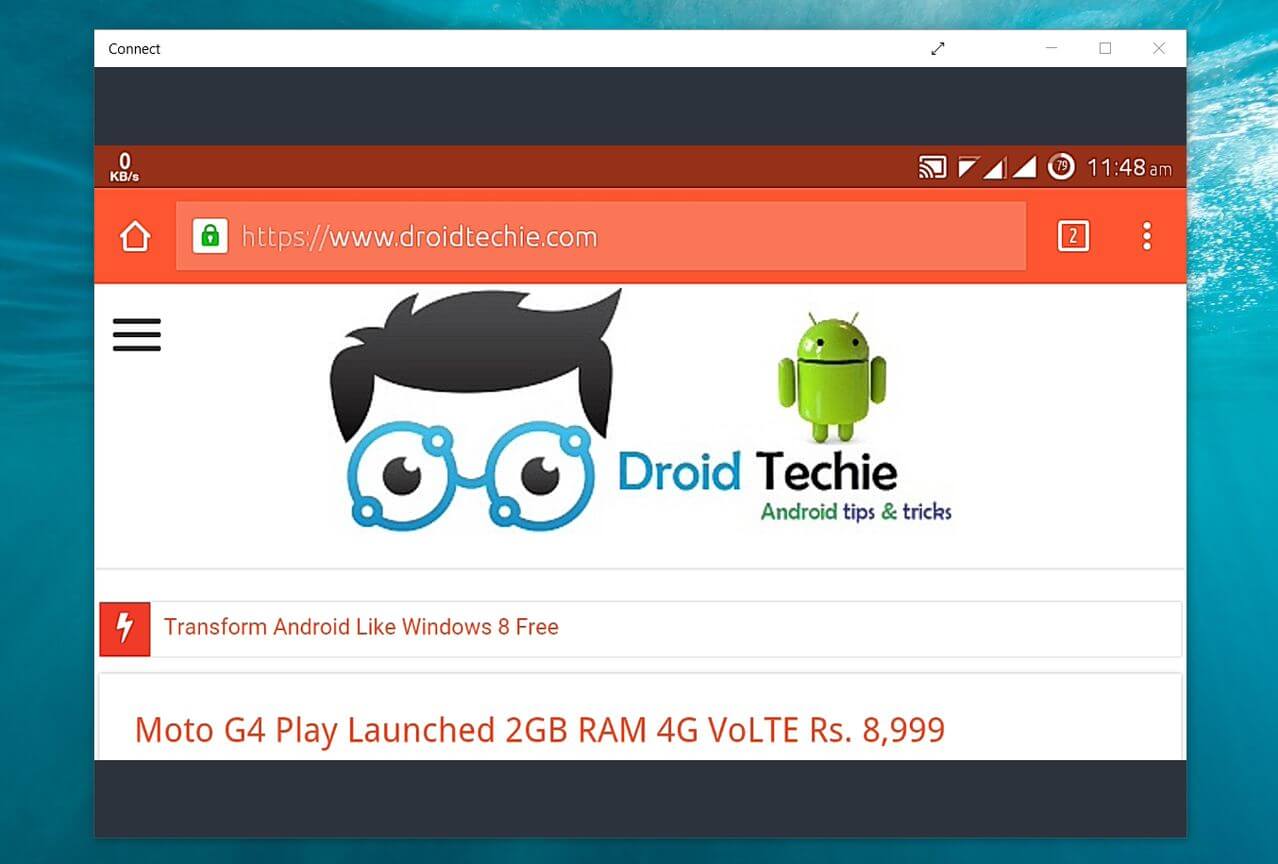
In this post we will be sharing details about How to Cast Android Screen Windows 10.

The Windows 10 Anniversary Update introduces a new Connect app which lets users cast their Android or Windows 10 Mobile’s screen to their Windows 10 PC. If you own an Android device which supports cast screen function (All Android devices on Lollipop or above supports), then you will be able to cast your screen to your Windows 10 PC running the Anniversary Update very easily.
Contents
How to Cast Android Screen Windows 10
Requirements:
- Android Device with a Cast Screen Function.
- Laptop or PC(having WiFi connectivity) with Windows 10 Anniversary Update Installed.
Procedure:
- Search for a Connect app from Start menu and Open It.

- Turn ON WiFi of your Android Device.
- Now go to Cast Screen Settings of Android device. [from notification drawer Or from Settings>>Display>>Cast screen]
- After that, Make sure your Wireless Display is Enabled on your Android device by clicking on the more icon from the top.

- Wait for your Android phone to find your Windows 10.
- Once your Pc shows up, just click on it and connect.
- After Connecting you should be able to see your Android Screen on your Windows 10 as shown in Screenshot below.

If you have tried this New feature by Windows, Let us know what you think about it in the comment section below.
Also Read popular posts:
Hope you got this easy process. Yet If you are facing any queries or having suggestion related to our blog please let us know via comments below we will get to as soon as possible.
Nice tut